For those who missed the announcement, FreeBSD 9 has replaced sysinstall with a new installer. It’s based on the PC-BSD installer’s back end and a text-based front end by Nathan Whitehorn. So, what is this new installer we’ve waited sixteen years for? I decided to find out.
As an official snapshot with the BSD installer isn’t yet available, I grabbed one of nwhitehorn’s recent snapshots. The back end is not integrated, but let’s see what the front end looks like. I assume there will be changes between this February snapshot and the next official snapshot. For my testing, I used a VM running Microsoft Virtual PC (for ease of screenshots) with ACPI disabled (so the install would finish).
Booting the image, I saw:
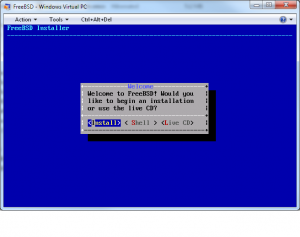
A recovery shell and a live CD are great, but I want to install.
The next screen tells me to select a keyboard. By virtue of alphabetical order, the default is Armenian. When I arrow down to find the US keyboard, there’s several different options. I know exactly what kind of keyboard I have, it’s an Endurapro with the mouse pointer between the G and the H. But that’s not an option. Fortunately, I use a Dvorak layout, and that is an option.
I’m now asked for a hostname, and then allowed to choose optional components.
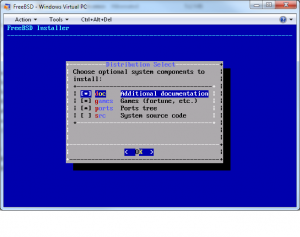
Of course I want source code!
I will miss the ability to choose “the smallest distribution possible,” but in reality, upgrading added the entire base system anyway.
Now we partition the disk.
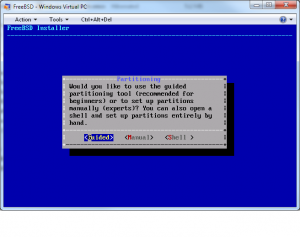
Ooooh, a “guided” method. That sounds newbie-friendly. Let’s try that.
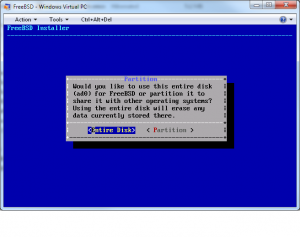
We want to use the whole disk.
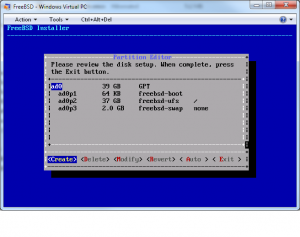
Wait a minute… where are /var, /tmp, /usr, and all the other partitions? Don’t tell me that one of the last survivors of proper partitioning is stumbling into the one large root filesystem trap? Ick. (I assume that the other partitioning methods will let you create proper partitions.)
Note that these are GPT partitions, not MBR partitions (slices).
Highlighting a partition and pressing ENTER shows details.
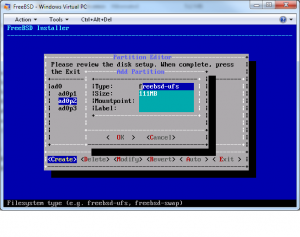
We can set a label in the installer, which is a nice feature. And it appears that two ESC takes you out of this submenu into the main menu. That seems odd, but perhaps it’s related to this being in Virtual PC. Arrow over to EXIT and hit ENTER to get the final confirmation screen.
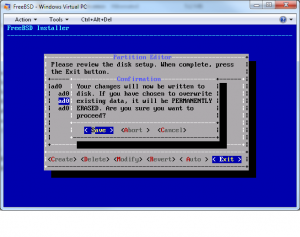
“Are you sure?” Save and Abort aren’t exactly answers to that question – actually “save” is kind of ambiguous in this context. Save your existing data? Yes, we’re sure, choose Save. The filesystem is initialized:
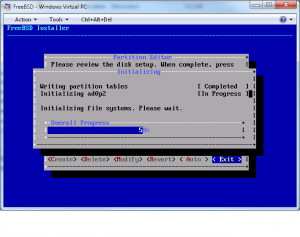
The installer verifies the files on disk and begins installing.
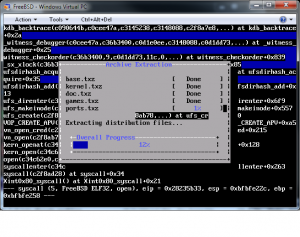
We must watch for a panic in the background, versus a simple lock order reversal. This is -current, either one can happen and both are displayed by default.
While watching this, I wanted to hit ALT-F2 and see just how well the ports were extracting. That’s apparently no longer an option.
After extracting everything, I was prompted for the root password, then for a network interface.
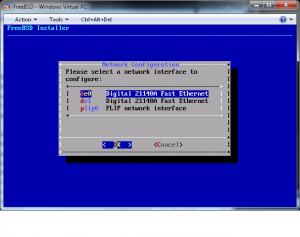
I took the default.
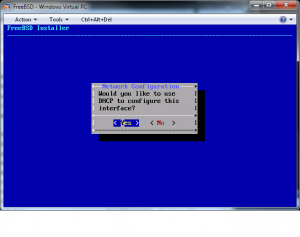
Why yes, I would like DHCP with my host, thank you.
Now I’m asked for the services I want enabled at boot.
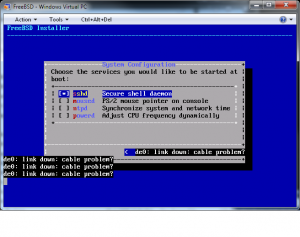
Compared to sysinstall there aren’t many choices, but I’m all right with being offered only the lowest common denominators. Far more vexing is how the network configuration gracelessly handled the unplugged network interface. While CTRL-L redrew the screen, a new link down message reappeared every second or so. I’d never tried Virtual PC before, and apparently I need to decipher the network configuration.
Once I choose the essential services, I’m asked if I want to add users. When I say yes, it drops me to text mode for the usual adduser(8) dialog.
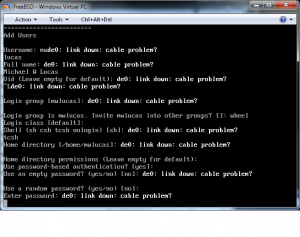
All right, the network message is getting pretty annoying now.
After adding my user, I get the final screen.
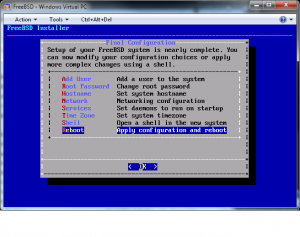
You can change many of your optional settings, plus set the time zone. You get the usual warnings about removing the CD-ROM from the drive, and then reboot into the new install.
Overall, I like many of the changes. It doesn’t have many of the libdialog annoyances that plague sysinstall. I dislike the guided partitioning system, or more exactly the lack of actual partitioning therein. I do not want /tmp files filling my hard disk!
The good news is, with the separation between the front end and the back end, changing the installer will be much simpler than it ever was with sysinstall. For all the petty annoyances in this installer, it’s a big step in the right direction. I want to commend the creators for actually pushing Sysinstall Replacement Attempt #82,319 to completion.

Thanks for the review, I haven’t had to time to look at this.
One think I actually liked of sysintall was that you could finely choose what to do: I would normally install the kernel sources only. The post install configuration menu was very useful.
One thing that has been particularly difficult and time consuming is setting XWindows, especially with HAL, and that’s not something that seems to have improved.
In any case it is good to see some work in this being done.
I enjoyed your comments about BSD being the last OS that does proper partitioning. I agreed wholeheartedly. Particularly with respect to your comments about /tmp filling up the hard drive.
That having been said, I took FreeBSD 6.2, I think it was, and built a completely FreeBSD-based livecd that automated all that and built a FreeBSd-based web server, with firewall, in about fifteen minutes – including source.
One of my several innovations was to use swap-residing tmpfs for the /tmp filesystem. I bring this to your attention not only because it is elegant, but because it neatly addresses your concern – note that other ‘tmp’ directories can be replaced with links to this tmpfs directory, as well.
I’ve been kind of shy about publicizing its existence, but you can download the ISO from http://www.daemonized.com/Products/ if you want to evaluate it.
I still have the source and hope to be transferring the makefiles to Subversion soon so that I can upgrade to a later release of FreeBSD, etc and release a few different ‘concept’ servers I have in mind.
I don’t know how well the release will handle being virtualized. Part of the value it adds is taking the partitioning out of the hands of the user so that it will be done correctly – no single disk-sized partitions allowed – and to do this, it does some fairly low-level disk operations.
The market I had in mind is a market that’s been all but abandoned by Linux, and that is older, smaller, slower computers. This release only needs about 4 or 5 GB, if I recall correctly. I run it, myself, on an old laptop – a Thinkpad 600E – that draws only about 8 watts.
Regards,
— richard childers
Unfortunately (october 2012) this new installer it is not able to install on an Epia Via M10000 mini-itx based machine
I tried different time both using FreeBSD 9.0 or FreeBSD 9.1 RC1 without results
Always it is not able to partition the HD
I suppose it’s an installer problem.
Is the new FreeBSD installer uncompatible with VIA EPIA M10000 ?
I’m not sure of that but I can say , on the same machine installation of FreeBSD 8.0 runs perfectly.
I had to switch to Ubuntu Linux for my server and spend some time to re-learn things, such as creating virtual machines using LXC, considering I was using jails on freebsd extensively.
same problem for me in 2012. it does not work on epia via m10000 and i switched on ubuntu and I learned lxc to substitute jails containers